
Secure SSH Keys on macOS (MacBook Pro), Keychain, SecureCRT, and iTerm2
SSH keys provide a safer and more reliable way to access servers and network devices than passwords. In this beginner-friendly guide, you’ll learn how to create SSH keys on a MacBook Pro, store your passphrase securely in macOS Keychain, and use your keys smoothly in iTerm2 and SecureCRT. Along the way, you’ll get copy-and-paste commands and best practices you can apply immediately.
Table of Contents (Click to Expand)
- What are SSH keys?
- Before you start
- Step 1: Generate an SSH key (recommended settings)
- Step 2: Start ssh-agent and add your key
- Step 3: Use macOS Keychain to store the passphrase
- Step 4: Copy your public key to a server
- Step 5: Create an SSH config for easy logins
- Step 6: Test your SSH key login
- SecureCRT SSH key workflow
- iTerm2 SSH key workflow
- Security best practices (high impact)
- Troubleshooting (common errors)
- FAQ
What are SSH keys?
SSH keys are a pair of cryptographic keys used to authenticate securely:
- Private key: stays on your Mac and must be protected.
- Public key: placed on the server/device you want to access.
Because SSH keys are resistant to brute-force attacks, they’re the preferred way to use SSH securely.
Before you start
- You have a MacBook Pro running macOS.
- You have a target host (Linux server, VM, jump box, etc.) with SSH enabled.
- You know the remote username and hostname/IP.
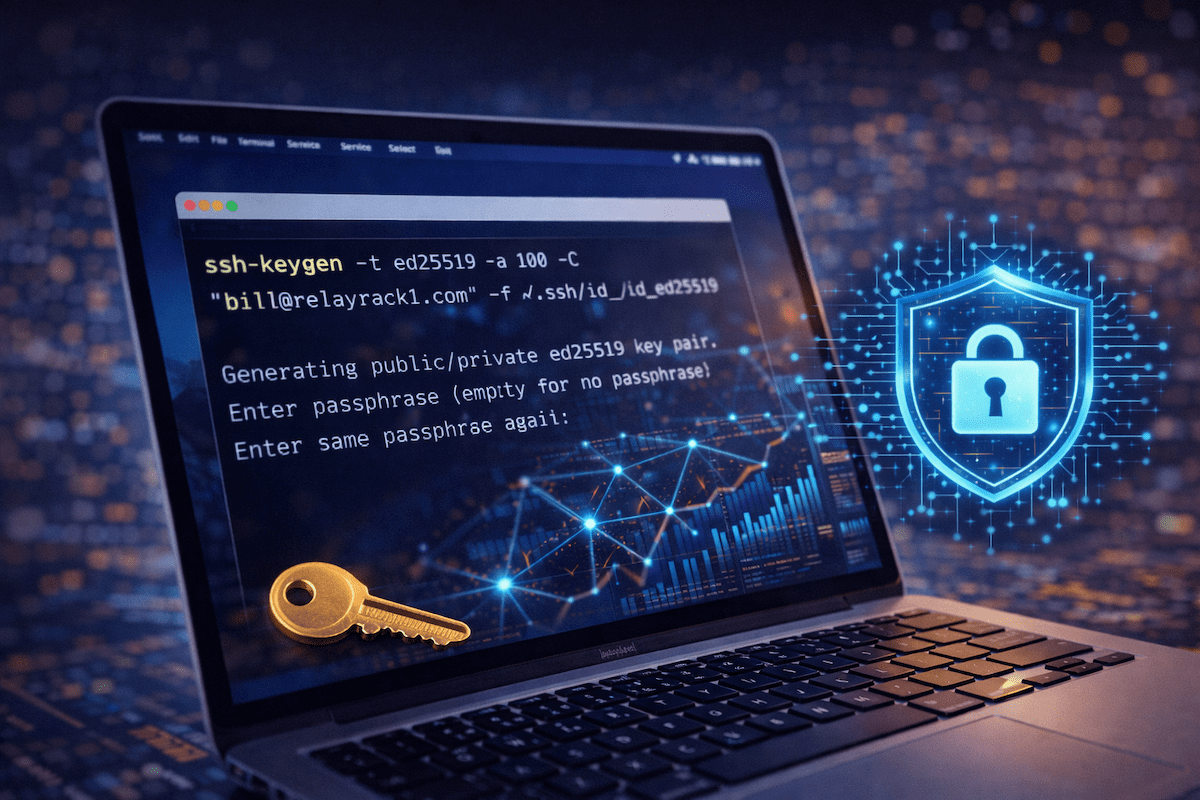
Step 1: Generate an SSH key (recommended settings)
Use ed25519 keys for strong security and modern compatibility.
ssh-keygen -t ed25519 -a 100 -C "bill@relayrack1.com" -f ~/.ssh/id_ed25519When prompted:
- Enter a passphrase (recommended). This protects your private key if your laptop is compromised.
- Press Enter again to confirm.
This creates:
~/.ssh/id_ed25519(private key — keep secret)~/.ssh/id_ed25519.pub(public key — safe to share)
Step 2: Start ssh-agent and add your key
Start the SSH agent and add your key for the current session:
eval "$(ssh-agent -s)"
ssh-add ~/.ssh/id_ed25519
You’ll be asked for your passphrase once (unless Keychain is enabled in the next step).
Step 3: Use macOS Keychain to store the passphrase
macOS can store your SSH key passphrase in Keychain so you don’t have to type it repeatedly. This is convenient and still secure when your Mac is protected with a strong login password/Touch ID.
3A) Create or update your SSH config
Create or edit your SSH config file:
mkdir -p ~/.ssh
nano ~/.ssh/config
Add the following (this enables Keychain integration):
Host *
  AddKeysToAgent yes
  UseKeychain yes
  IdentityFile ~/.ssh/id_ed25519
Save and exit nano: CTRL+O, Enter, then CTRL+X.
3B) Add the key and store it in Keychain
Now add the key and store passphrase in Keychain:
ssh-add --apple-use-keychain ~/.ssh/id_ed25519Enter your passphrase once. After that, macOS Keychain should remember it for future logins.
3C) Confirm your key is loaded
ssh-add -lYou should see your ed25519 key listed.
Step 4: Copy your public key to a server
Option A: Use ssh-copy-id (best if installed)
Some macOS setups don’t include ssh-copy-id by default. If you have it, run:
ssh-copy-id -i ~/.ssh/id_ed25519.pub user@server-ipOption B: Copy the key manually (works everywhere)
First, copy your public key to the clipboard:
pbcopy < ~/.ssh/id_ed25519.pubThen SSH into the server using your password one last time and add it:
ssh user@server-ip
mkdir -p ~/.ssh
chmod 700 ~/.ssh
nano ~/.ssh/authorized_keys
Paste the key on a new line, then save and exit. Next:
chmod 600 ~/.ssh/authorized_keys
exit
Step 5: Create an SSH config for easy logins
SSH config entries let you connect with short names and consistent settings.
Edit your config:
nano ~/.ssh/configAdd a host entry example:
Host rr1-jumpbox
  HostName 203.0.113.10
  User bill
  IdentityFile ~/.ssh/id_ed25519
  ServerAliveInterval 30
  ServerAliveCountMax 3
Now connect with:
ssh rr1-jumpboxStep 6: Test your SSH key login
Run:
ssh -v rr1-jumpboxLook for lines indicating your key was offered and accepted. After Keychain is set, you should not be prompted repeatedly for your passphrase.
SecureCRT SSH key workflow
SecureCRT is popular in network engineering because it offers session management, logging, and automation. Here’s a clean SSH key workflow that stays secure.
1) Convert key if needed
SecureCRT can use OpenSSH keys on modern versions. If your SecureCRT version does not support your key format, use SecureCRT’s built-in conversion tools (Key Manager) to import/convert an OpenSSH private key.
2) Point a session to your SSH key
- Create or edit a SecureCRT session.
- Protocol: SSH2
- Set Username
- Authentication:
- Use PublicKey (and optionally Password as fallback).
- Select your private key file (for example:
~/.ssh/id_ed25519or the converted SecureCRT key).
- Save the session.
3) Use an SSH agent approach (optional)
If you prefer not to store passphrases in SecureCRT, you can rely on your system’s SSH agent/Keychain workflow and configure SecureCRT to use agent-based authentication where available. This keeps your key protected and reduces repeated prompts.
SecureCRT best practices
- Enable session logging for auditing on critical systems.
- Use separate sessions for production vs lab (visual separation matters).
- Avoid saving plain-text passwords in session files when you can use keys instead.
iTerm2 SSH key workflow
iTerm2 uses macOS OpenSSH under the hood. As a result, your SSH config and Keychain settings apply automatically.
1) Use your SSH config host names
ssh rr1-jumpbox2) Use split panes for multi-host work
- Vertical split:
⌘ + D - Horizontal split:
⌘ + Shift + D
3) Confirm Keychain is working
If you still get prompted often, run:
ssh-add --apple-use-keychain ~/.ssh/id_ed25519
ssh-add -l
Then reconnect.
Security best practices (high impact)
Once keys work, lock things down further.
1) Disable password login (after confirming key access)
On the server, edit SSH config:
sudo nano /etc/ssh/sshd_configSet:
PasswordAuthentication no
PermitRootLogin no
Then restart SSH (command varies by distro):
sudo systemctl restart sshImportant: Keep an active session open while testing changes to avoid locking yourself out.
2) Restrict SSH access with firewall rules
Allow SSH only from trusted networks or VPNs when possible. This reduces your attack surface immediately.
3) Use separate keys for different roles (recommended)
Create different keys for:
- Personal admin access
- Automation/service accounts
- Production vs lab
This limits blast radius if a key is ever exposed.
Troubleshooting (common errors)
“Permission denied (publickey)”
- Confirm the correct user and host.
- Confirm the public key is in
~/.ssh/authorized_keyson the server. - Check permissions:
~/.sshshould be700authorized_keysshould be600
- Use verbose mode:
ssh -vvv rr1-jumpbox
Repeated passphrase prompts
- Ensure your SSH config includes:
Host * AddKeysToAgent yes UseKeychain yes - Re-add the key to Keychain:
ssh-add --apple-use-keychain ~/.ssh/id_ed25519
Wrong key used
Force a specific identity file for a host in ~/.ssh/config:
Host rr1-jumpbox
  IdentityFile ~/.ssh/id_ed25519
  IdentitiesOnly yes
FAQ
Should I use RSA or ed25519?
Use ed25519 for modern systems. Use RSA only if you must support older devices that don’t accept ed25519.
Where does Keychain store the SSH passphrase?
Keychain stores the passphrase securely under your macOS user account. If someone can unlock your Mac account, they can potentially access Keychain items, which is why strong macOS login security matters.
Can I use one SSH key for everything?
You can, but it’s safer to use separate keys for different environments (especially production).